Fixing what MyQ, SimpleCommands et. al have broken
As most of us are aware, Chamberlain and MyQ has screwed most who have the MyQ garage opener. And, sadly, the easiest workaround which used the SimpleCommands app, is now dead. There’s been little to help in this area over the last couple of years. I decided in May of 2024 to have a look to see if anyone had come up with something, and sure enough, AlexInDC on Reddit came up with a unique workaround. A big thanks to Alex.
There’s a couple choices you’ll make here. The first, is just to follow the modified instructions from Reddit and use that on it’s own. For a more automated solution, you’ll need to have a Homebridge server setup, and link that to an automation in the Apple Home app. You’ll also create a couple of Siri Shortcuts. Unlike the SimpleCommands solution, which required no user interaction, the Reddit solution requires voice interaction and if you add the Homebridge part you’ll still need voice interaction, too. The big difference is with the Homebridge part, you can use geolocation to trigger the start of the solution. In the long run, you may find it simpler and easier just to use a physical remote with the MyQ. But, for those who find technology fun, this one will never break unless Apple does something to make it so. There’s no third party app like SimpleCommands and there’s no need for the MyQ API. It’s all part of Apple’s iOS and, it works! If you’re an Android person, sorry, but I don’t have anything for you, stop here. Otherwise, proceed.
Open or Close the Garage with Just Voice Control and MyQ App
Open the Shortcuts app on your iPhone. In the upper right hand corner, click the + to add a new Shortcut. One of the choices in iOS 17 will be Open App. In older iOS, you may have to search for that and then choose it.
Open App in New Shortcut
2. Click on the App variable
Select the App variable
3. Select myQ from the list of apps
Select myQ
4. Shortcut now shows myQ as selected app
myQ selected
5. Click Done in upper right corner of previous image. You might also click the down arrow by “Open App” then rename this shortcut to something that makes more sense. I name it MyQ.
Setting Up Voice Control
Open the Settings app on your iPhone. Select Accessibility. Turn the Voice Control slider on.
Turn Voice Control on
2. Leave Accessibility running in the background and open the MyQ app. Since Voice Control should now be on (indicated by a small waveform icon in the upper left of your phone’s Home screen, say “Show Grid.” Take note of the grid numbers within the circle of the garage. With a single garage, the grid numbers to take note of are typically 18 and 19.
The MyQ screen showing the grid.
3. Once you’ve noted the grid numbers, say “Hide Grid.” The numbered squares will disappear.
4. Return to the Accessibility app and Voice Control. Select the Commands option, then Create New Command
Creating a New Command
5. With the New Command screen open you will need two of the three options as shown (a Phrase, I use the name of my car; an Action, in this case recording commands. You can leave the Application set to Any.
Two of the three choices are needed
6. From the Action screen, you want Playback Recorded Commands, but you cannot select that. Instead, follow the directions beneath that choice that begins “To use Recorded Commands…”
7. You’ll be making a recording. I suggest practicing what you’ll say, first. It will help you set the pace of your speech. The recording should contain, “Show Grid, Tap xx (probably 18 or 19 from 2. above.) When you’ve made your recording, tap Save. I had to do this a couple of times, hence the suggestion to practice your speech first.
Now, when you approach orleave your garage, you can say “Siri (or Hey Siri) name you used for the Phrase in 5. above. In my case, I say “Hey Siri, MyQ” a brief pause and “Prius” (the phrase I used.) Your MyQ should now either open or close depending on what state (open or closed) it’s in.
Open the Garage with GeoLocation, Voice Control and MyQ App (I always use the remote to close mine.)
In the Home app on your iPhone, create a new Add Automation by selecting that from the + in the upper right hand corner.
Adding a new Automation in the Home app
2. On the Events screen of the New Automation you can choose either People Arrive or When The First Person Arrives Home on the screen. I use the former.
The Event Choice of the New Automation
3. When Anyone Arrives Home, I have the Dummy Switch change to On. You have to do this for GeoLocation because Apple restricts what can happen automatically via Shortcuts without the user having to OK a Location action. Apple does allow an accessory to be manipulated without user interaction. This is the entire reason for setting up Homebridge and the Dummy Switch. I leave the switch on for one minute.
Set the Dummy Switch On.
Enhancing and Adding Shortcuts for GeoLocation
4. With the Dummy Switch on this will trigger a Shortcut to run. In this case the Shortcut is about what to do first.
Actions triggered by Dummy Switch on.
5. The enhanced MyQ action utilizes the Voice Control from the first section, Open or Close the Garage with Just Voice Control and MyQ App.
Enhanced MyQ Shortcut
6. Siri will prompt you for the name of the Voice Control you created. Again, for me, that’s the single word “Prius.” Once you provide that, with the Shortcut having turned Voice Control On, your Garage Door will open when you speak and arrive home.
That’s it folks. This works really well and again, unless Apple breaks something it will continue to work without third party apps such as SimpleCommands, IFTTT or anything.
Have you upgraded your iPhone to iOS 16 or your iPad to iPadOS 16 only to find your randomize wallpaper siri shortcut is broken? Me, too!! I used a siri shortcut to change the Wallpaper daily at Sunrise. I have a Photos album called Wallpapers (which I use instead of the Recent Items in the original shortcut. You can choose any album in your Photos Library.), the automation runs every day, and the wallpaper would be something new each day. Fun and much less boring than the same thing every day. It’s what I have done on my Mac desktop for years. Then, with the 16s, I found when the shortcut ran, it just left a black screen, no image. What an annoyance.
After searching for a few weeks, there seems to be a solution. First, get this shortcut, Randomize Wallpaper. Next, you’ll have to duplicate it, at least once (I kept the original for reference, and duplicated it twice. I renamed one “Randomize Lock Screen Wallpaper” and the other “Randomize Home Wallpaper.” Getting the idea? In the original shortcut, in iOS 15 and below, the automation would run the original shortcut and set both the lock screen and the home screen to one image. That now fails in 16 and both just become black. But, if you edit the duplicates (or one duplicate and the original) to just set the wallpaper for either Home or Lock and the other to set the other wallpaper, that appears to work.
So now, in the Automations section of Shortcuts, the Sunrise action, runs the two shortcuts and now you can have two separate images on Lock and Home. Your two shortcuts should look like this:
**Oct. 27, 2023 — This procedure appears to be officially dead as both SimpleCommands and LiveKey apparently are no longer working. LiveKey now says the service is inactive and is no longer available on the iOS app store. SimpleCommands is still on the iOS app store, but no longer will login. SimpleCommands support seems to continue to work for some reason.
**Nov. 28th, 2022 — The instructions for using Alexa to control your MyQ Garage Door Opener with geofencing, no confirmation required (which Siri Shortcuts do require unless you install HomeBridge with a Dummy Switch,) can be found here. You will need to install SimpleCommands or LiveKey (which is the newer version of SimpleCommands.) Alexa will not open the garage by itself, just as HomeKit will not, for privacy reasons. But, that’s not why you’re here, is it? 😎
**As of 8/23/2021, due to MyQ Chamberlain making changes to their login, this procedure does not work. I’ll post back when there is a fix.** (See the orginal post)
If you’ve read and used the previous post on using Alexa with MyQ, you may have noticed the integration with SimpleCommands has broken over the last couple of weeks. This is not the first time that’s happened. There is a fix. Build your own custom skill with Alexa.
This may sound daunting, but I promise, if you can follow directions, you’ll have it up and running in less than an hour. In many cases, less than 30 minutes. Here we go:
1. Download the code (makes things easier).
– Go to https://github.com/spenwall/myq-alexa
– Click the green “Code” button and click Download ZIP.
– Unzip the downloaded file.
2. Go to the Alexa Developer page
– Go to https://developer.amazon.com/alexa/console/ask
– You’ll need to login to your Amazon account. I’m not sure, but you WILL need to register for a developer account as well. It’s free.
3. Create a skill
The link above will take you to the Developer Console page. On this page…
– Click the Create Skill button.
– On the Create a new skill page, enter/select the following…
Skill name: Enter a name for your skill. For example, “MyQ Garage Door”.
Primary locale: English (US) (this is the default); (if you’re Canadian, change that to English (CA), etc.)
Choose a model to add to your skill: Custom (this is the default)
Choose a method to host your skill’s backend resources: Alexa-hosted (Node.js) (this is the default)
Click the “Create skill” button at the top right of the page.
On the next page, Choose the Start From Scratch template (this is the default)
4. Add Interaction Model
At this point, you’ll be on the Custom Skill Builder page.
– On the menu on the left side of the page…
Click Invocations > Skill Invocation Name. Under “Skill Invocation Name”, enter “garage door”.
Under Interaction Model, Click Intents > JSON Editor.
Open the alexa.json file (downloaded in step 1) in Notepad (or your favorite text editor). Select all the text in the file, and hit Copy (Ctrl-C).
In the JSON Editor, Select all the text in the editor and hit Paste (Ctrl-V) to replace all the text in the window with the text from alexa.json.
You may optionally change the invocation name to something like “garage door” (or whatever you like) by editing line 4 in the window to say…
“invocationName”: “garage door”,
– Finally, click the “Build Model” button at the top of the page.
5. Add the Code
– Click on the word Code at the top of the page (it’s in the black area at the very top of the page.)
– On the list of files at the left side of the page, double-click on index.js.
– As above, open the downloaded file “index.js” in Notepad, and Copy all the text from the file. (Select all then Ctrl-C.) Then paste the text into the window. (Select all then Ctrl-V.)
– In the window, on lines 8 & 9, enter your email & password for your MyQ account.
– Click the Save button at the top of the page.
– On the list of files at the left side of the page, double-click on package.json.
– As above open the downloaded file “package.json” in Notepad, and Copy all the text from the file. (Select all then Ctrl-C.) Then paste the text into the window. (Select all then Ctrl-V.)
– IF you changed the “invocationName” in step 4, you’ll edit line 2 in the window and paste the same name in. For example, if you changed the invocation name to the following:
“invocationName”: “garage door”,
Then you’ll need to change line 2 to the following:
“name”: “garage-door”,
(Note that it’s the same name, but all spaces are replaced with hyphens.)
– Click the Save button at the top of the page.
6. Deploy
Hit the Deploy button at the top of the page and let it build.
7. Test
– Click on the word Test at the top of the page (it’s in the black area at the very top of the page.)
– Next to “Skill testing is enabled in:”, select “Development”.
– In the “Type of click and hold the mic” button, enter a command like “Ask garage door to open”. (You can also use a mic to say this command.)
– You should hear your garage door open.
This didn’t work at first for me. So I had to do the following…
– Click on the word Code at the top of the page.
– On the list of files at the left side of the page, double-click on index.js.
– Change line 28
From…
return result.devices[1].serial_number;
To… return result.devices[0].serial_number;
Click Save & Deploy again.
– Try step 7 again. It worked for me after doing this.
8. Use it on Alexa
At this point, your skill is attached to your Amazon account. All Alexa devices that are registered to this account automatically have access to this skill. You can say the following commands:
– “Alexa ask garage door to open”
– “Alexa ask garage door to close”
– “Alexa ask garage door status”
You can see your skill by…
– Open the Alexa app.
– Go to Skills & Games
– Click on Your Skills.
– At the top, where it has boxes for Enabled, Updated, etc, scroll the boxes to the left until you see Dev and touch that box.
– You should see your new MyQ Garage Door skill.
Your skill is in Developer mode which means it’s private. It has not been published to the Skills section of Alexa so nobody else can get to it. (Make sure that you do not go into the Distribution section and Distribute your skill. That would enable others to open and close your garage door!
Finally, if you want to create a Routine in Alexa, the actual skill will not be available because it’s in Developer mode. So for the Action, instead of using a Skill, you’ll need to use a Custom Action and type in “Ask garage door to open”. It works fine.
I hope this helps.
You can find other tips by going to the blog homepage. You can find iHelp’s main offerings, here.
I’ve always thought Siri was lame compared to Alexa. Shortcuts for MyQ has totally changed my mind about that. In case you don’t know about Shortcuts they were introduced at the Apple WWDC in 2018 for iOS 12 and above. (I’ve decided I will use iOS to mean both iOS or iPadOS.) Shortcuts automate things and available for many things. The official Apple Shortcuts are referred to as Trusted. Shortcuts from third parties, since they are untested officially by Apple are referred to as Untrusted Shortcuts. Use them at your own risk, but in many cases, using some common sense, Untrusted Shortcuts just make life simpler. The best analogy I can offer is if you’ve ever gone to macscipter.net to get AppleScript help, same difference. On your iPhone, you will have to enable Untrusted Shortcuts. From Settings, go to Shortcuts then enable it here:
**Jump to **September 1, 2021 Addendum. This is the most reliable means of using Siri Shortcuts for MyQ garage. You must install the Dummy Switch to make this work automatically due to privacy limitations imposed by Apple.
I’ve found two different versions of the MyQ garage Shortcuts. The first, you’ll have to input your myliftmaster.com email address, password and name of your device (it’s displayed when you login to myliftmaster.com) on all three Shortcuts, Open, Close & Toggle. But, those Shortcuts also work on Apple Watch whereas, for me, the improved Shortcuts work on the iPhone but not the Apple Watch. The improved ones have one Shortcut where you enter your myliftmaster.com info, then the working Shortcuts, Open, Close, Status & Hub use the info in the Setup Shortcut.
As from the Can Alexa Control my MyQ Garage Door Opener? post, if you use SimpleCommands with a location trigger, you’ll never have to talk to either Siri or Alexa. But, using your iPhone or Apple Watch can be much easier and perhaps more reliable than your Echo device. (I’ve had an Echo Auto since before they were released in the general population and it’s routinely flakey.) Now, you have a choice.
July 15, 2021 Addendum
If you discovered the shortcuts are no longer working as of this date, it’s because MyQ changed the API. Go into the shortcut and change the API text to JVM/G9Nwih5BwKgNCjLxiFUQxQijAebyyg8QUHr7JOrP+tuPb8iHfRHKwTmDzHOu, This will work, and with the newer Automation control in Shortcuts, you can automate this via Geofencing and you don’t need SimpleCommands, Alexa or Google Assistant for it to work.
**September 1, 2021 Addendum
There has not been a fix posted as of this date related to the original post and Siri Shortcuts. But there is a workaround with additional capabilities.
The HomeBridge project was designed to provide integration for smart home devices which are not natively supported by HomeKit. This includes MyQ as well as several other popular brands. At the bottom of the linked page, you’ll find installers for a variety of operating systems, including macOS and Windows. Simply click the OS you need. This will take you to a GitHub page with easy to follow instructions. Should take the average person, even someone who may not be all that comfortable with technology, about 10-15 minutes total. One caveat, HomeBridge does need to run as a constant service, so if you have a computer that pretty much runs 24/7, then this is a great solution.
Once installed, you can search for the MyQ plugin or any other plugin which is supported. I added MyQ, TP-Link Kasa and Wyze. Now, a bunch of my devices can be controlled by Siri. Another added benefit, you don’t need to add Shortcuts. Once you have the devices added to Home you can simply say “Hey Siri, open garage” and she will comply (of course, you have to create an open or close scene in Home first.) I haven’t had a chance to test geofencing yet, but from the looks of some of the Automations built in to Home, I’m thinking it should work. If not, I’ll post another Addendum with a work around. Another nice benefit, if you have multiple smart devices in a room you’ve added, you can ask Siri to turn on the room and she’ll start everything in that room!
Good luck! I’m hoping HomeBridge will also solve future MyQ API problems which might crop up. Fingers crossed.
September 4, 2021 Addendum
Just like Siri Shortcuts, if a location trigger in Home is aimed at opening the home, such as what happens with the garage door, the user WILL NEED to confirm that trigger via a notification. So, no, it does not work in Home. But, there is an alternative THAT DOES!
If you’ve installed Homebridge, as outlined in the September 1, 2021 Addendum, you’ll want to add the plugin for a dummy switch. After the install is complete, you can give it any name that makes sense to you when the configuration pops up. That’s all the configuration you will do. Restart Homebridge and the Dummy Switch or whatever name you gave it will appear in the Home app on your Apple device.
Now, for the triggers where you won’t have to confirm anything. You’ll create two automations in the Home app. The first one, is the location trigger, “When Anyone Arrives Home.” Point that to the dummy switch and have it turn on. I set it to turn back off in two minutes, but you can pick any time frame you want. The second automation is the “An Accessory is Controlled” one. For this, you’ll set it up so that when the dummy switch turns on, it activates the garage door opener to an Open position. That’s it! When you get close to your home, the dummy switch turns on and activates the open on the garage.
September 18, 2021 Addendum
You can use SimpleCommands to produce Siri Shortcuts that work. See this. (As of Oct. 27, 2023, SimpleCommands appears to be dead.)
September 11, 2023
SimpleCommands is broken again. The most reliable means seems to be using the HomeBridge project.
October 27, 2023
The MyQ API appears to have another new change, such that, when using Homebridge with the MyQ plugin (v. 3.4.3) only produces error 429. There are some postings on the MyQ plugin Discord saying by downgrading the MyQ plugin to v.3.4.2 and waiting up to 24 hours that plugin version will finally login to the MyQ API. Use at your own risk.
You can find other tips by going to the blog homepage. You can find iHelp’s main offerings, here.
Tell Siri, “I’m being pulled over.” This can be useful if you are pulled over by the police for ANY reason. You should open the link on your iPhone, then click on the link to the Shortcut. Once you see the Shortcut, scroll to the bottom. (You might have to go into Settings—>Shortcuts—>Allow Untrusted Shortcuts (simply means the Shortcut was not developed by Apple) Once you start the process of installing the Shortcut, you can specify someone you trust to receive the video created. Shortcuts are really fabulous automations. Thank you Apple!
When I purchased my house in 2000, I had it wired for Ethernet. This was long before WiFi became as commonplace as it is today. Because of the structure of the house, the one room the installer wasn’t able to drop a lead to was the living room. This has constantly proven to be the inconvenience I thought it would be. I did an end-run by running a long Ethernet cable from one of the rooms to the living room. It’s a very long cable and only goes to one area there.
A few years ago, I purchased a TiVo Bolt on Amazon. This was after cutting the cord and installing a rooftop antenna. I wanted to be able to DVR TV shows during the regular season since often there are two or more shows in the same time period. Originally, I used a Powerline solution to connect the Bolt to my home network. Worked OK for a while but then it started buffering a lot. Replaced the Powerline with WiFi which worked fine until I added a TiVo Mini to one of the bedrooms. The Bolt worked fine, but frequently the Mini would lose its connection back to the Bolt. And, the Mini was hard-wired via Ethernet.
I thought if I could link the two via Multimedia for Coax Alliance (MoCA) the connection might be more stable. MoCA uses the internal coax wiring to extend the network. Similar to Powerline using the internal electrical wiring to extend a network. Bought a MoCA adapter and set it up at my router. The MoCA light on the device never came on. Returned it to Amazon and bought a TiVo Bridge instead. Same problem. No MoCA connection from where the coax comes into the house. Yes, I used a Point of Entry (POE) filter. It was just a no-go.
In the last week, I thought I’d try again to get MoCA working since the Mini was frequently losing its connection to the Bolt. Still a no-go after a few hours trying. Finally, thought, what if I used a better Powerline adapter to get Ethernet to the Bolt and then used the Bolt’s built-in ability to create a MoCA network. Son-of-a-gun! That worked! The Bolt was now doing Ethernet+MoCA! Now, it was a case of getting the Mini on MoCA as well. Disconnected the Ethernet cable from the Mini and connected the coax cable instead. Went into the settings, changed Network from Ethernet to MoCA. Here’s where the ‘fun’ started.
While the Bolt acted as a bridge, letting the router do all the DHCP, the Mini in fact DID get an IP address from the router. But, when I tried to bring up the Mini’s TiVo guide, I got an error that the Mini could not see the Bolt. Son-of-a-gun. What the heck?
Finally, broke down and called TiVo support.
And, here’s what finally brought it all together: I reset the Mini to factory settings. I disconnected the Bolt from power as well as disconnecting the Mini from power. Then, I rebooted the router. After the router came back up, I reconnected the Bolt to power. When it came up, I turned the MoCA on the Bolt off. Then turned it back on. When asked about the MoCA channel, I accepted the default of channel 15. Then, connected the Bolt to the TiVo service. Twice. After all looked good on the Bolt, again, I plugged the Mini back in. Ran through the guided setup. When it got to the MoCA setup, on the Mini, I again accepted channel 15 as the default. Now, the Mini finally was not only on the MoCA network, but it could also see the Bolt!!
I wasted many hours trying to create the MoCA network with external devices. My thought was splitters installed with the outside antenna were causing a problem. Turns out, they weren’t. I just had made a simple solution, letting the Bolt do the work, much more complex than it needed to be. Now, I can only hope the Mini and the Bolt play well together using MoCA. Time will tell.
Hopefully, this will shorten any time you need to spend troubleshooting.
You can find other tips by going to the blog homepage. You can find iHelp’s main offerings, here.
Use Amazon Alexa to control your MyQ garage door opener for free!
**As of 8/23/2021, SimpleCommands has fixed their link to MyQ. This procedure is now the one to use, with some modification**
Have you been looking for a way to use Alexa to control your MyQ garage door? I bet all you’re finding is to pay an annual subscription fee to Chamberlain. Granted, it’s only $10 per year to subscribe, but it is pretty selfish of Chamberlain since they had an Alexa skill, but chose to remove it in order to charge a fee. I looked too, and was about to pay Chamberlain their $10 until I found another good and free solution. And, this solution will work for both iPhone or Android devices.
This is a pretty simple, straight forward solution. First, you’ll need the SimpleCommands app. Links to the apps are here. Once you’ve installed the app, use this page for step by step instructions on how to setup the routine.
**Changes to what the above link tells you to do.**
In Step 5, instead of telling Alexa to discover devices, go to the Devices tab at the bottom of the iOS app (hopefully it’s in the same place on Android), then, scroll left at the top until you find Scenes. Next page, click on “Discover Scenes.” Alexa should now find the Scenes (Routines) you created in SimpleCommands. Once the Scenes are found and added, go to the More tab, bottom right on iOS, click Routines in the page that comes up. Call the routine whatever makes sense to you. For the When, you can do a voice trigger or a location trigger. I prefer the latter. For the Add Action, have Alexa control a scene and add one of the scenes (Open/Close) from the newly discovered Scenes. If you’re using a location (geo) arrive trigger, when your device gets within the radius of the location, it will trigger the routine and your garage SHOULD open. You can also add an additional action such as having Alexa give you a Welcome Home greeting.
That’s all there is to it. Now, when I’m at the end of my alley, since I just installed the Echo Auto which gives me Alexa in my car, I just say, “Alexa, start Open Garage.” Voila! By the time I get to the house, the garage door is open. SimpleCommands can be used for much, much more. Just explore their knowledge base for other routines you can have work with Alexa or just the app itself.
June 17, 2020 Addendum:
After noticing twice Alexa heard the command, but failed to open the garage, I began a troubleshooting session. When I used the shortcut, from the comments, ‘Alexa, open garage’ she would answer OK but the garage remained closed. Going back to the original command, ‘Alexa, start open garage’ she would indicate there was a problem. Going into SimpleCommands, I found an error of the garage opener offline. Yet, when I looked in my WiFi app, I could see the MyQ was connected to my network. In fact, using the MyQ app on my iPhone worked as expected. I had reset my network a couple of days before in order to get a TiVo Mini working via MoCA. Even though it appeared everything should be working, SimpleCommands was still showing the Open Garage as offline.
I proceeded to delete the association with SimpleCommands and start anew as outlined above. I went into the ‘Add a Connnection’ portion of SimpleCommands and added the myQ connection. When I attempted to link myQ with SimpleCommands it would fail. Multiple times. Testing logins with the same credentials at myliftmaster.com would succeed. After many attempts, instead of using the myQ connection I used the Generic Garage Opener connnector instead in SimpleCommands. Success! This must have something to do with not having the ‘paid’ subscription to Chamberlain for myQ. Once I was able to link SimpleCommands with the Generic Garage Opener (which by the way still shows myQ) everything worked again.
Some things to take note of: it was necessary to recreate the Open & Close routines in SimpleCommands since I deleted everything. Then, I had to use the Alexa app to re-establish the Scenes connections. Finally, when abbreviating the command in Alexa from ‘Start open…’ or ‘Start close….’ to just ‘Open….’ or ‘Close…’ it was necessary to relink those as outlined below in the comments.
July 3, 2020 Addendum
Why involve Alexa at all for opening? If you setup the SimpleCommands routines, you can set a location trigger for when you come home. This uses what’s called geofencing to locate your phone and if you have been gone, as you come home the garage will automatically trigger and open. I’ve used this everyday since I walk outside. Works a charm! (You can setup a location trigger to close your garage, but I like to see that happen as I leave, so I don’t use it.)
Hopefully, this will shorten any time you need to spend troubleshooting.
July 29, 2021 Addendum
As of about July 15, 2021, the API link between SimpleCommands and MyQ has been broken. While SimpleCommands has been working to fix this, as of the date of this addendum it remains in disrepair. I have discovered two other methods of linking Alexa with MyQ.
The first is to build a custom Alexa skill as outlined in another blog post here. Building the skill is much easier than you might think. If you have a hard time with technology, it might take an hour. If you can follow directions and technology is easier, maybe half that, give or take. It works.
The second method involves using SmartThings. If you’re already using SmartThings for your Samsung TV or other home automation then this might be a good fit. You can find the instructions here. This one was not so easy for me. It took a couple of hours. I may rewrite the instructions if enough persons comment here about it.
Both of these other methods do allow you to control a MyQ garage opener without interaction through geofencing. Simply, you get to or from a location and that becomes a trigger to open or close the door.
You can find other tips by going to the blog homepage. You can find iHelp’s main offerings, here.
A client wanted to have all photos on iMac, iPhone & iPad. Easy peasy, right? Not so much.
Of course, the first thing that needs to happen is all devices must be signed into iCloud using the same Apple ID. Once that was confirmed, we turned on iCloud Photo Library on the iPad & iPhone. Then let it sit for a while. Checking both iOS devices and logging into iCloud from the Mac showed the same number of photos in all three places.
Next, opened System Preferences on the iMac and again confirmed it was using the same Apple ID and confirmed the iCloud System Preference was set for iCloud Photo Library (see image, below).
iCloud Photo Library turned on in iCloud System Preference
So far, so good. Opened the Photos app on the iMac to insure iCloud Photo Library was turned on there, as well. (Open Photos. From the Photos menu, choose Preferences, then the iCloud tab. Insure iCloud Photo Library is checked.)
iCloud Photo Library turned on in the Photos app.
At this point you should see a progress bar and as you follow along, Photos should begin adding & uploading photos to iCloud Photo Library. And, there’s the rub. Photos would get to the point where it appeared to be adding photos to iCloud Photo Library but nothing would happen. The counts for photos on iCloud & the iOS devices remains the same and nothing happens. Nothing. Nada. Zilch.
I followed the link to “Repairing the Photos library” (above), then quit the Photos app and launched it again holding both the Command & Option keys while clicking the Photos icon in the Dock. What shows next is this:
Repair Library shown after starting Photos with CMD-OPT keys held down
Clicking the Repair button, good things happen as the Photos Library is repaired. Time to do so will of course depend on the number of photos in the Library. (We only had about 3,200 so it was pretty quick.)
After the repair, we had to go back into Photos preferences and re-check the box to connect to iCloud Photo Library. Once we did that, the magic happened and Photos on the iMac were added to iCloud Photo Library and the iPhone & iPad received all the photos which had only been on the iMac. YMMV (Your Mileage May Vary).
You can find other tips by going to the blog homepage. You can find iHelp’s main offerings, here.
With companies such as Verizon and Time Warner offering broadband internet speeds of 300Mb/s (that’s megabit per second) or greater, it’s time to stop thinking like this is still the year 2000. I know, because my own broadband has gone from 30Mb/s to 200Mb/s in just the last month.
Some things to take into account:
If you are using a cable modem, what do you have? Is it DOCCIS 3 rated? What are the fastest speeds it can handle? How many channels can it bond?
Is the router connecting you to the Internet capable of handling the faster speeds?
If your router in 2. is capable of handling the faster speeds, and it also provides WiFi, what spectrum does the WiFi operate at 2.4Ghz or 5Ghz or both?
Do you have other devices (computers, etc) on your network connecting via Ethernet? If yes, how old are the patch cables connecting them? What are the cables rated?
If you have additional Ethernet switches on the network what’s the fastest speed of the ports?
Let’s deal with these one at a time.
To test your cable modem, plug your computer directly into the Ethernet port on the modem. Once you are connected to the modem and have a valid IP address, go to this site to test your speeds:http://testmy.net/SmarTest/combinedAuto. You want to use this as opposed to the speedtests at speakeasy.net or speedtest.net because it uses HTML5, not Flash. It’s more accurate.
Are you getting the speeds you’re paying for from the modem? If you’re paying for 200Mb/s and when connecting directly to the modem you’re only getting 30Mb/s you probably need a new modem. I’d recommend the Arris SB6183. It will bond up to 16 Channels and is rated for 600+ Mb/s.
To test your router, do the same thing as 1. above. Plug directly into the router, use the same link in 1. to test your speed. Again, if you’re not getting the higher speeds, you probably need to replace the router. A good recommendation for that would be something like the Zyxel Zywall 110. You might be able to get by with the Zyxel Zywall 50, that’s what I’m using but it may top out lower than the speeds you have.
For WiFi, you’ll need something capable of using the 5Ghz spectrum; the 2.4Ghz spectrum won’t handle the faster speeds. Again, use the link above for testmy.net to check what speed you’re getting out of your WiFi. Unless you’re using the newest iPhone 6S or one of the iPads released around that time, an iOS device is not going to give you a reasonable result. Even if you are using one of the newer iOS devices, you should still use your computer for the WiFi test.
Personally, I like to keep the WiFi separate from the router, so I use WiFi access points. A good recommendation here are the UAP Pro or the UAP AC, both from Ubiquity. The AC is a better choice if you have a new computer capable of using the AC standard; it’s currently the fastest WiFi available.
If you want just one unit with both the routing and the WiFi in the same unit, take a look at the ASUS RT-68U. It’s very highly rated by friends and compatriots in the consulting business.
The age of your patch cables and switch also can be factors with these new higher speeds. In days of old, CAT 5 cables were fine. In this new era of faster speeds, your cables really should be CAT 6. Look at the cable itself. There’s text all over it and somewhere on it you’ll see the designation for the cable.
Likewise, if the switches on your network are not Gigabit switches, you’ll want to replace them. Get the steel switches, not the plastic ones; overall they are better made and will perform better. A good start is either the 5-Port or 8-Port Netgear. If you really need a lot of ports, the 24-Port might be what you want; for most home users, you shouldn’t need something that big.
Hopefully, this will give you some good information about how to get the better speeds from your internet provider. Party on Garth!
You can find other tips by going to the blog homepage. You can find iHelp’s main offerings, here.
Note: ComplyFoam now makes a 600 series which works with the Backbeat Go2
I kind of have a fetish for headphones. Perhaps not as bad as some folks, but I have four or five pairs of earbuds, the kind that go in your ear and a couple of pair of over-the-ear headphones. On the latter, I have to admit, one pair is quite old and started falling apart last summer (and, they’re very cheap; the other are a recent purchase which I’m hoping to use more in the winter when it’s cold outside, sort of a combo good sound and ear muffs.) During the warm months, and at the gym, I use the earbuds.
Recently, I thought I’d give some wireless bluetooth ones a try. At an Apple Store, another admitted headphone addict recommended the Plantronics Backbeat Go2.These run anywhere from about $53 on Amazon to $99 at the Apple Store. I gave them a try. Sound was good, but I’ve never been a fan of the silicon tips more earbuds come with. And, my favorite third party vendor for foam earbud replacements, ComplyFoam doesn’t make any specifically for the Backbeat Go2. So, after a week or so, I gave up on them and returned them.
Then, an online company had a sale on the Backbeat Go 1s for $19.95. Couldn’t resist. And, ComplyFoam 200 series fits them. I liked them. Trouble is they were only staying charged for a couple of hours and they were supposed to last four or so. Called Plantronics, one of my new fav companies for standing behind their products. They agreed even though these were refurbs and I had bought them from a third party the Backbeat 1s should stay charged for at least four hours. There aren’t a lot of companies that stand behind their products. Plantronics joins my list of Osprey Packs and Camelbak as consumer oriented vendors. They said they would send me a set of their Backbeat Go2s to replace the faulty Backbeat Go1s!
After I received the BB Go2s, and using them for a few days, I was back where I started. The silicon tips didn’t stay in my ears, even the large, and I was getting disappointed all over again. I wrote to ComplyFoam to ask WHEN they would come out with some foams specifically for the BB Go2s. They said they didn’t have any plans to but they “have seen on some online forums that some customers have been able to use our 500 line of tips for this earphones. It just really needs to be stretched in order to fit around the nozzle.” And that’s where this post fits in.
I searched and searched, and yes, there were online forums where users said they had used the ComplyFoam 500s with the BB Go2s. Problem: Nobody was explaining HOW they stretched the ComplyFoams to fit. I tried several different ways before finding the “correct” way, at least for me. Here’s what finally worked: I used the chuck-end of a 1/4″ drill bit to stretch the ComplyFoam TSX-500. Here’s what it looks like:
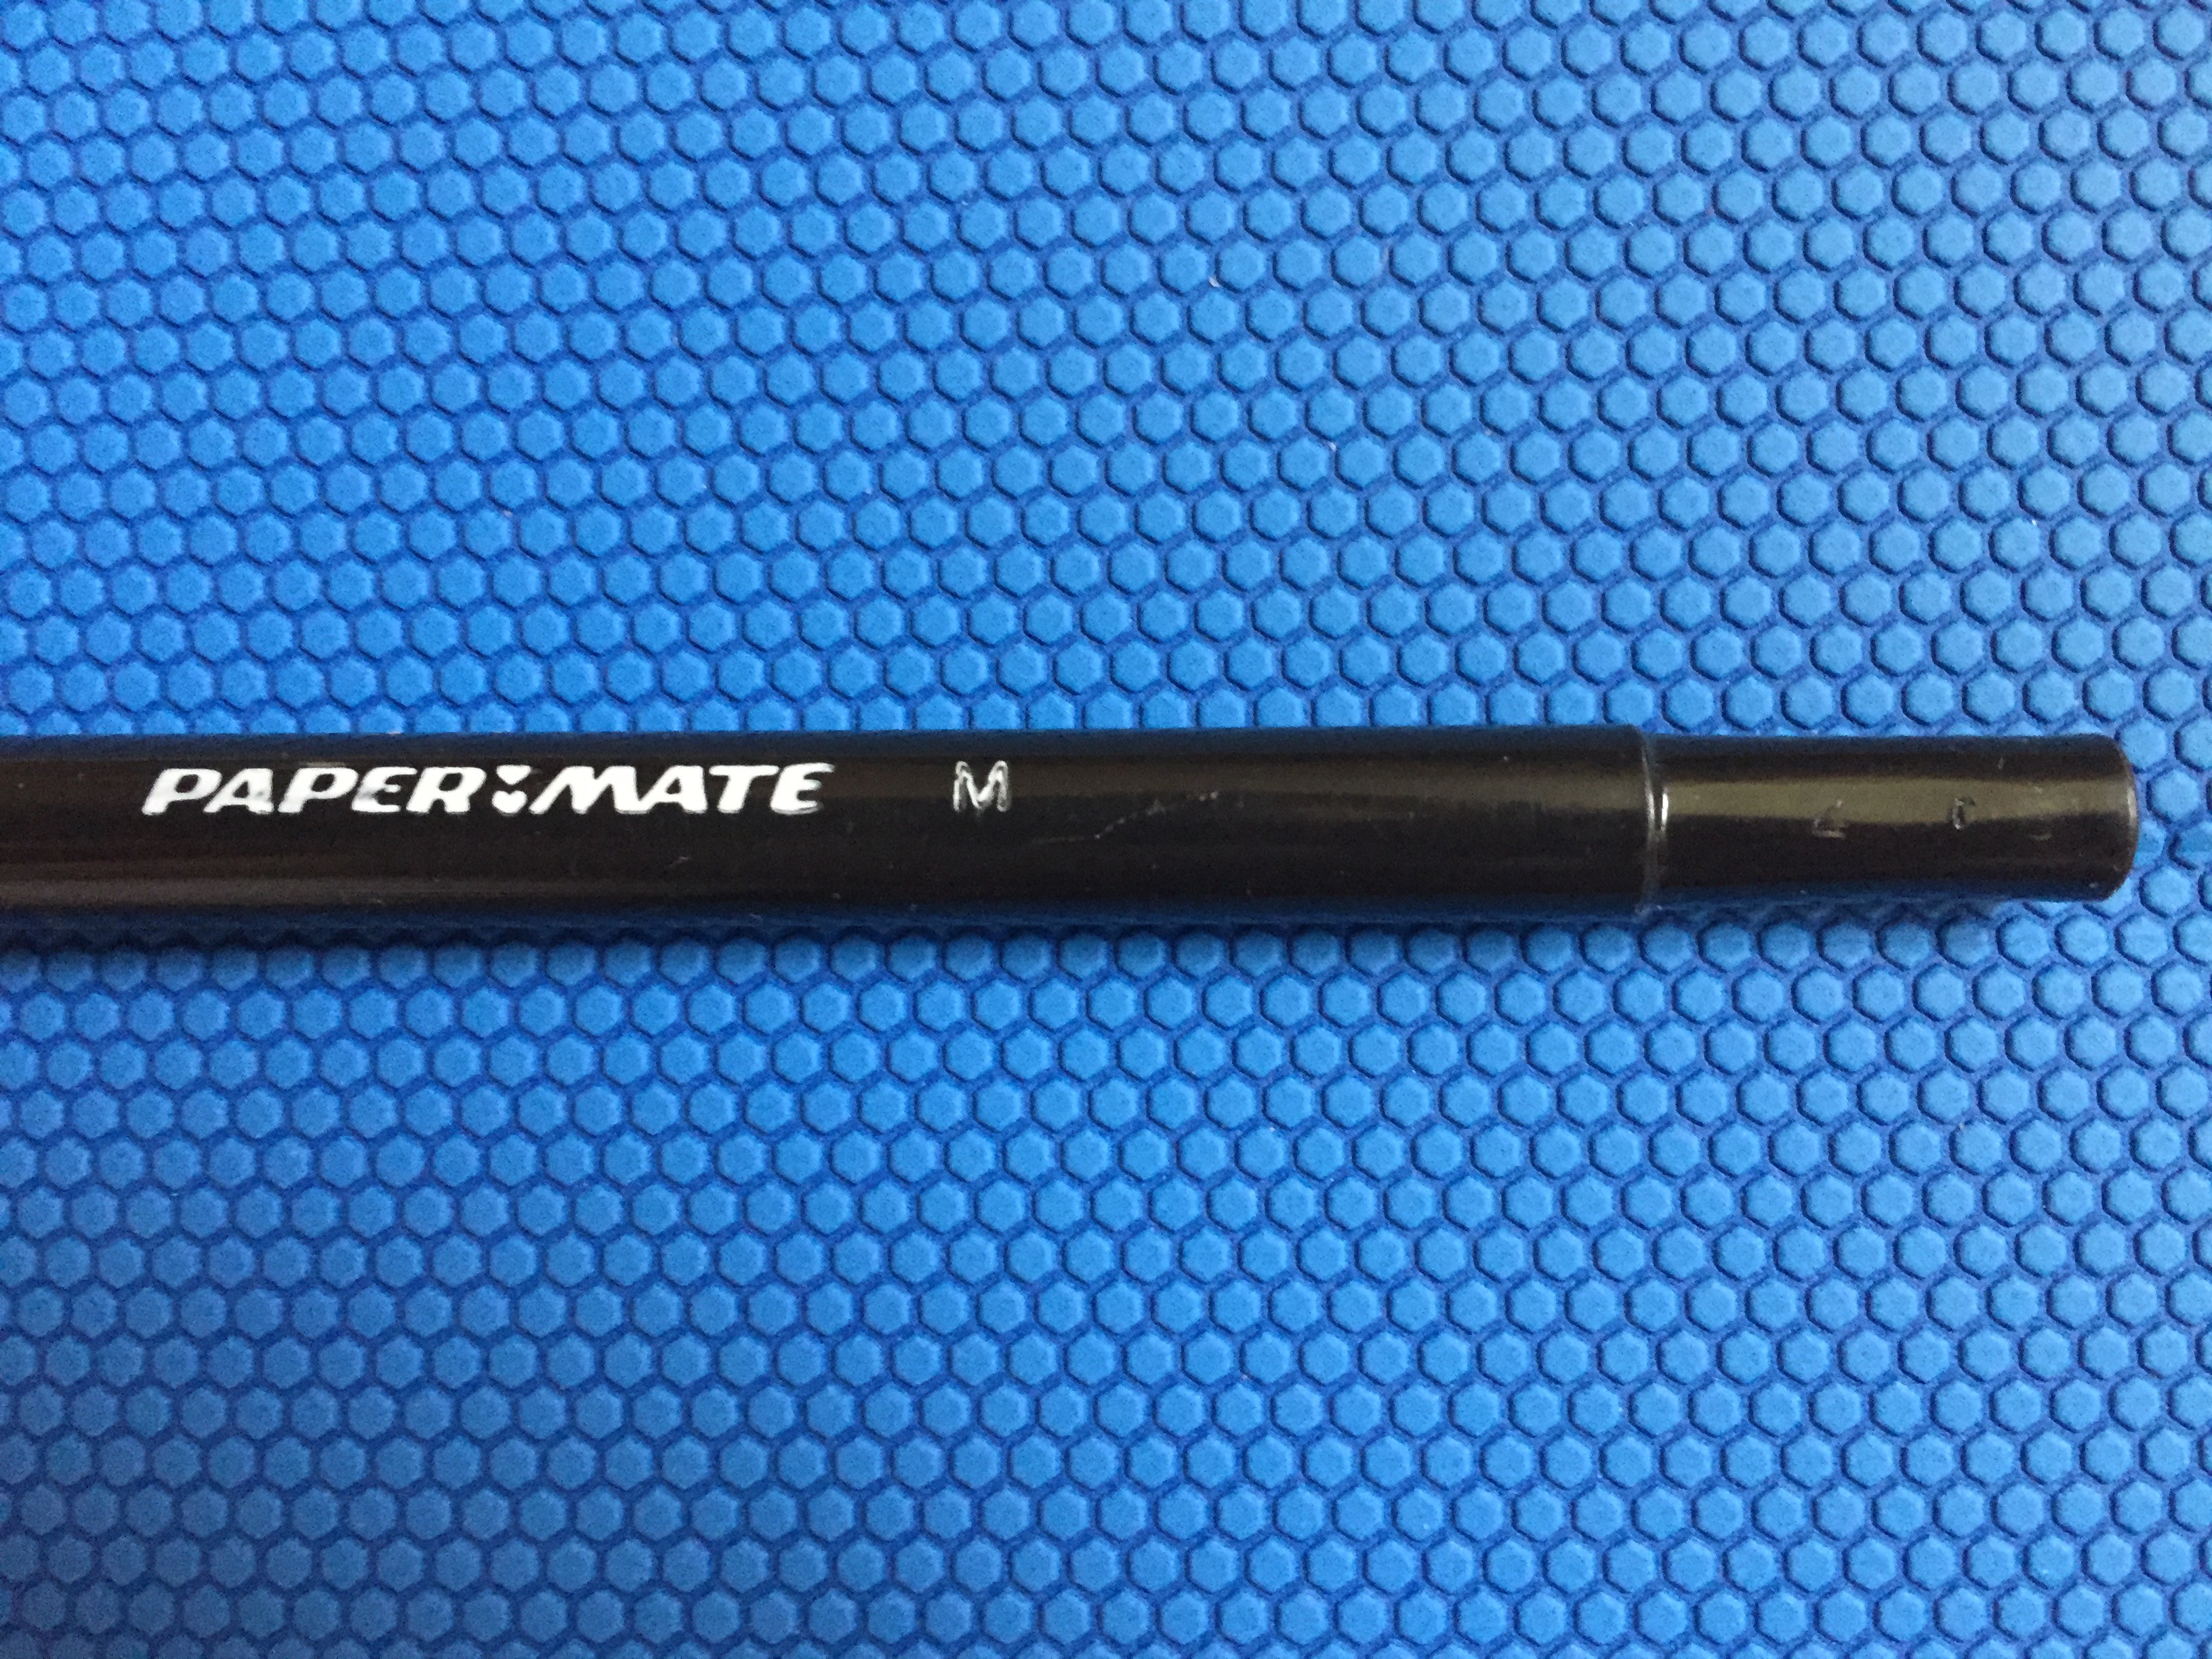
You only need to leave it on for a minute or so; just long enough to stretch the inner core so it will slip onto the BBGo2. If you don’t happen to have drill bits, you can also try the backend of a Papermate BIC-type pen; the throw away kind
After you get the ComplyFoams on your Backbeat Go2, you can enjoy your music and the comfort of the foam tips versus the silicon ones. Of course, some may prefer the silicon, but for me, the foams are better.
Now you know how.
You can find other tips by going to the blog homepage. You can find iHelp’s main offerings, here.


Recent Comments